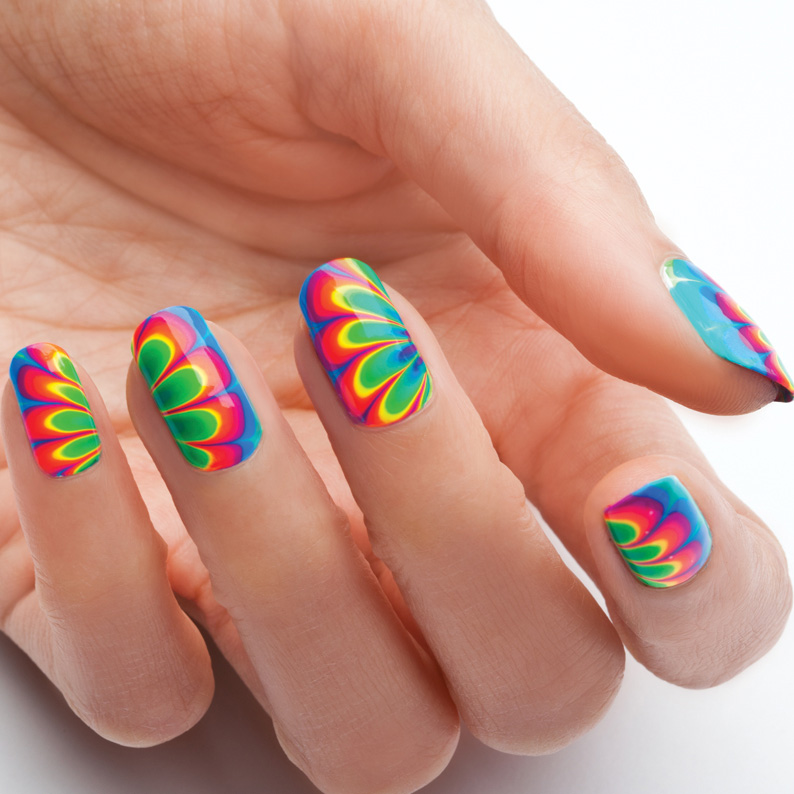
A water marble nails design starts with a base to secure your nails and a white base color.
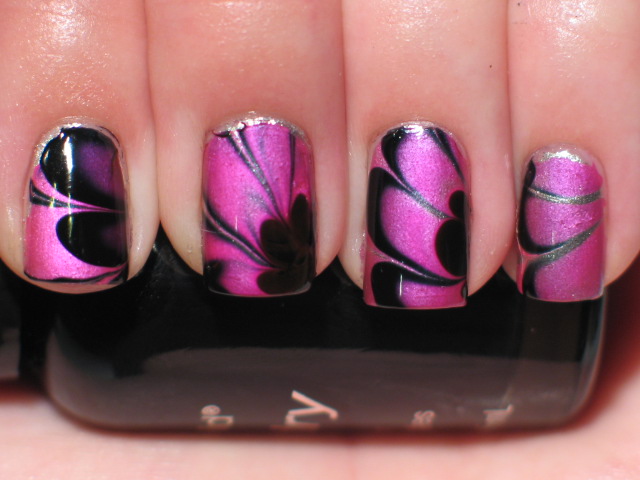
Water marble nail art dries too fast.
Do you find difficulty with spreading of the polish in the water for watermarble nails.
I first made my designs in the water with the nail polish.
Paint the nail with a white base.
In regards to the temp.
All products used linked below.
If the polish isn t spreading it could be the brand of polish a lot of people already pointed this out in the comments though.
Hello my wonderful nail polish addicts.
Water marble nails art.
Clean up all the unnecessary remains and cover with the top.
I then waited a day to take it out.
Water marble nail art step by step using nails polish cnd lacquer by natasha lee how to product watermarbling nail art new improved video tutorial availa.
Then you are in the right pla.
Nail artist gabby morris created the water marble nail design with orosa.
2 put normal water in the cup 22 24 degrees centigrade too warm or too cold water will dry your nail polish faster and won t give you time to draw the design.
Begin to add your design after you ve.
Here they are sprinkled into this step by step guide.
Watermarble nails without using water.
This is why room temperature is perfect for water marbling.
Create some intricate patterns with a dotting tool and dive your fingernails in.
There are a few tricks to making sure your water marble goes well.
Today i ll be showing you a quick and easy way to create an amazing dry water marble nail art design.
If the water is too cold the polish will dry faster if it is too hot it won t dry fast enough.
Today i ll show you how to stamp a water marble instead of dipping into the cup.
Use a 200ml disposable paper cup.
Add other colors repeat this process with other colors by placing the new drops in the middle of the glass.
See more water marble nail art tutorials.